
Parts and contaminants · 4 min read · Updated 2026-09-30
Ultrasonic cleaning of veterinary surgical instruments
Blood, hair and bone dust in box locks and serrations: how a veterinary practice cleans instruments before sterilisation, and the machines that fit.
Technical guide. Figures are taken from our own spec tables; for your process we confirm the settings with a cleaning trial.
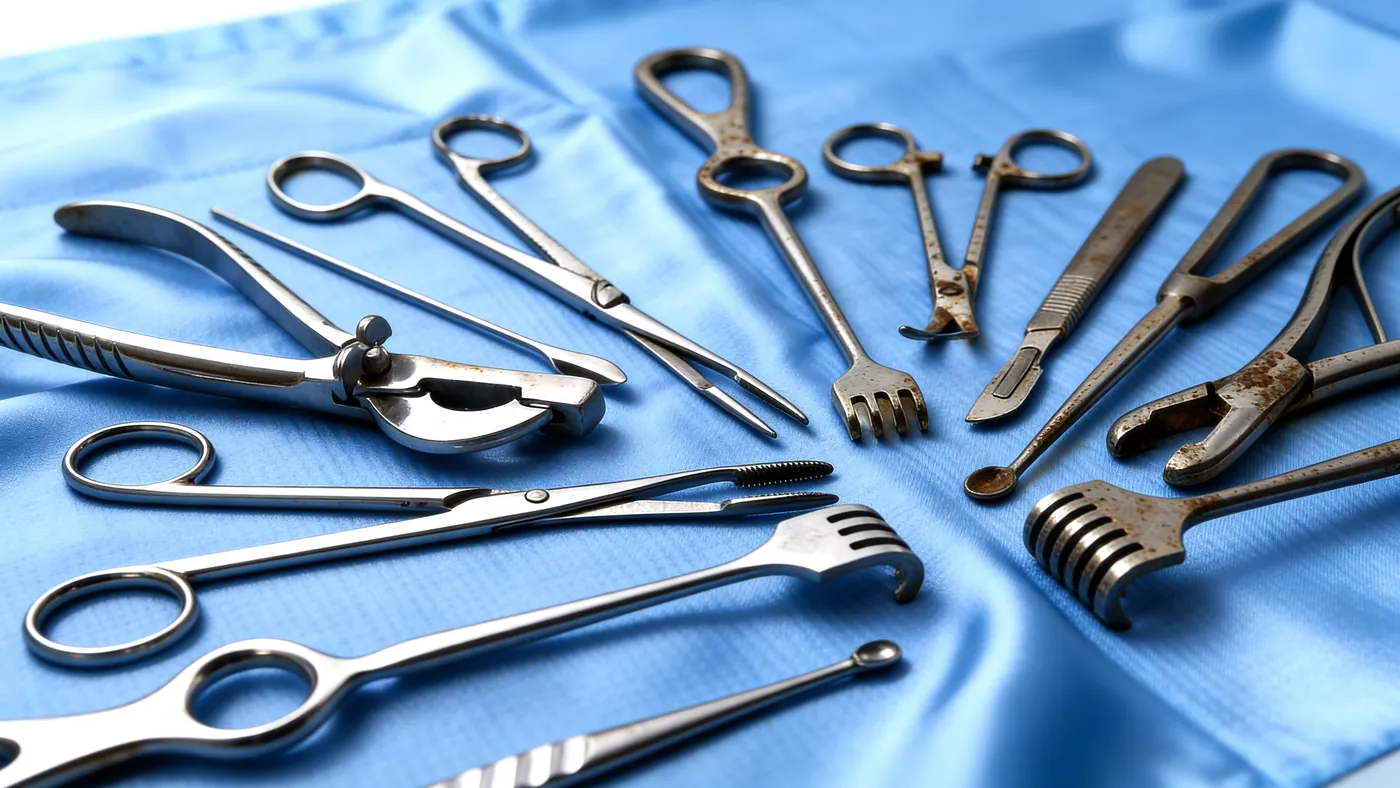
A small-animal practice runs neutering packs, soft-tissue sets and dental sets every day. An equine or farm practice adds orthopaedic sets, castration instruments and hoof knives. The problem is the same as in human surgery: a steriliser works only on a clean instrument, and blood, tissue, hair and bone dust dried into box locks and serrations shield the surface beneath them. An ultrasonic bath removes that soil from places a brush does not reach, and it reduces hand scrubbing of sharp instruments.
The regulatory position
The EU Medical Device Regulation, (EU) 2017/745, covers devices for human use. Veterinary instruments, and the equipment used to clean them, fall outside it, so an industrial ultrasonic cleaner can be used in a veterinary practice. What does not change:
- Cleaning comes before sterilisation and does not replace it. Ultrasonic cleaning neither disinfects nor sterilises.
- The instrument maker's cleaning and sterilisation instructions apply. Many veterinary instruments are the same products as in human surgery, and their instructions say which chemistry, temperature and methods they tolerate.
- National rules and professional guidance on veterinary practice hygiene apply.
What comes off
| Soil | Where it hides | What matters |
|---|---|---|
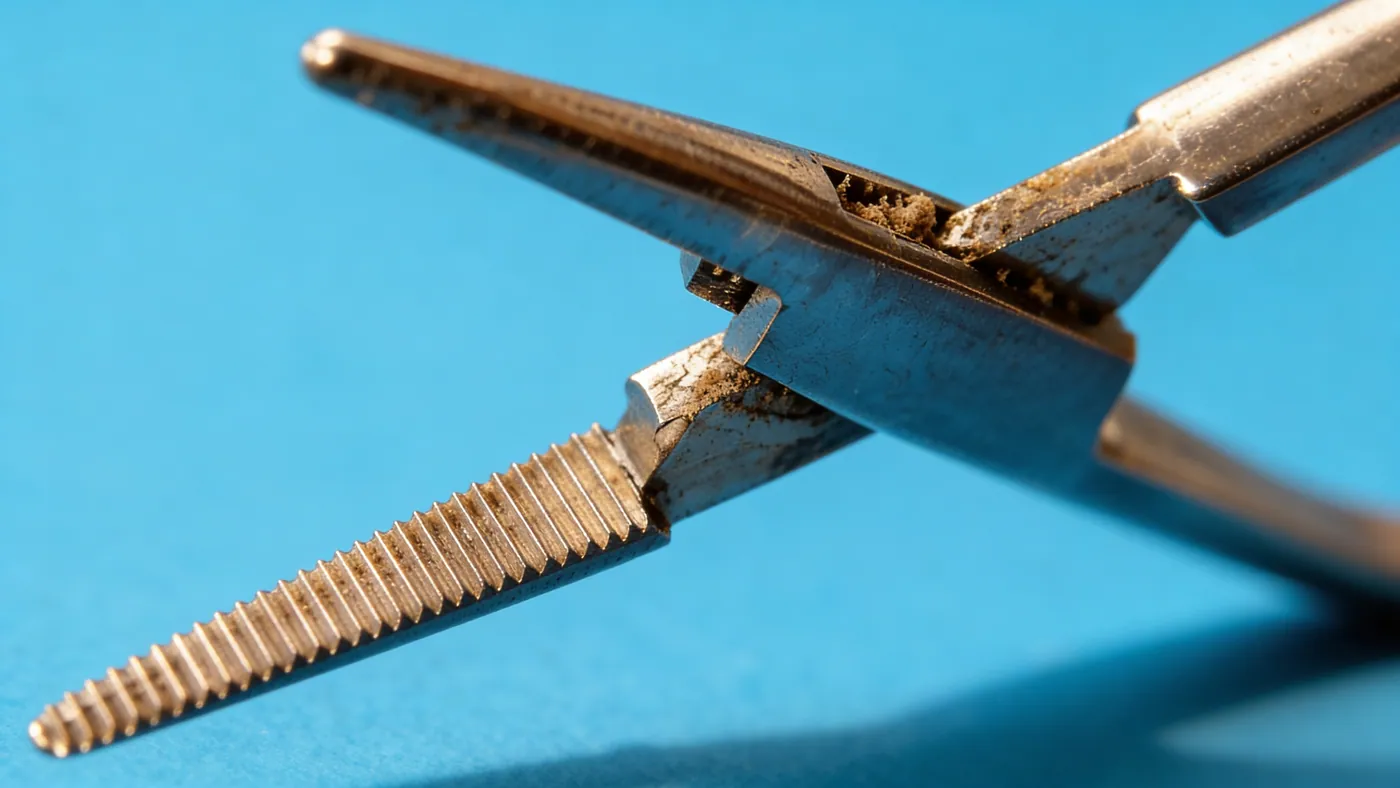
| Blood and tissue | Box locks, serrations, jaws, ratchets | Keep moist after surgery; wash below about 45 °C so protein is not fixed |
| Hair | Hinges, around ratchets and screws | Pick out by hand before the bath; ultrasound loosens wound hair but does not remove it |
| Bone dust and fragments | Saw blades, drill bits, rongeurs, cannulated drills | Brush the flutes first, angle cannulated parts so they fill |
| Calculus and prophylaxis paste | Scalers, elevators, dental forceps | Wipe at the table before it dries |
| Hoof horn, soil, manure | Hoof knives, hoof testers, farm instruments | Pre-rinse, and clean separately from surgical instruments |
| Saline and blood | Joints and crevices | Chlorides left to dry cause pitting on stainless steel |
The cycle
- After surgery: wipe off gross soil, open the instruments and keep them moist, with a damp cloth or an instrument pre-treatment foam. Dried blood takes far longer to remove.
- Pre-rinse in cool water.
- Load: joints opened, multi-part instruments taken apart, one layer in a mesh basket, fully immersed.
- Ultrasonic wash: an enzymatic or mild alkaline instrument detergent at the concentration on its label, 35 to 45 °C, 40 kHz, 5 to 10 minutes or as the detergent maker specifies. Lid closed while running.
- Rinse in clean water, then a final rinse in demineralised water so no mineral spots dry onto the steel.
- Dry completely, including joints and cannulations.
- Inspect and maintain: check under good light with a magnifier, lubricate hinges with a water-soluble, steam-permeable instrument lubricant, test the function.
- Pack and sterilise by the steriliser's validated cycle.
Make up the bath fresh and degas it at the start of the day, and change it at least daily and whenever it is visibly soiled. See how long to clean and choosing the cleaning temperature.
Loading rules
- Separate by weight and fineness. Orthopaedic and equine instruments are never loaded on top of fine ones. Ophthalmic and microsurgical instruments go in their own racks; see microsurgical instruments.
- Do not overload. Instruments must not lie on each other; a second basket or a second cycle is quicker than cleaning twice.
- No mixed metals. Chrome-plated and stainless instruments are kept apart.
- Keep out of the bath: battery drills and saws, motors, cables, light sources and optics, unless their maker says otherwise.
See loading the basket for the general principles.
Checking the result
Look at every instrument after cleaning, above all box locks, serrations and teeth. Soil left there means a loading, time or bath problem, and the instrument goes back through the cycle, not into the steriliser. Once a month, a foil test shows the bath still cavitates evenly.
Which machine
| Practice | Set-up |
|---|---|
| Small practice, one or two packs at a time | STS-150 (15 L, tank 330 × 300 × 150 mm) or STS-200 (20 L, 500 × 300 × 150 mm) for longer instruments |
| Busy clinic, several packs, long instruments | STS-300 (30 L, 500 × 300 × 200 mm), with a second benchtop or a sink for the rinse |
| Referral hospital, equine and orthopaedic sets | ST-40 (40 L, 400 × 300 × 330 mm) at 40 kHz, heated, with a rinse tank |
All STS benchtop units run at 40 kHz and are heated. Set the heater to 40 °C; the ultrasound adds heat of its own during a long session, so check the bath with a thermometer rather than trusting the set point. For the choice between a benchtop and an industrial tank, see benchtop or industrial, and for the hazards of a heated bath, safety. The surgical instruments article explains the same cleaning step in human medicine.