
Parts and contaminants · 4 min read · Updated 2026-09-30
Cleaning microsurgical instruments with ultrasound
Microsurgical tips bend or break on contact. How fine instruments are held, cleaned and checked in hospitals, repair workshops and manufacturing.
Technical guide. Figures are taken from our own spec tables; for your process we confirm the settings with a cleaning trial.
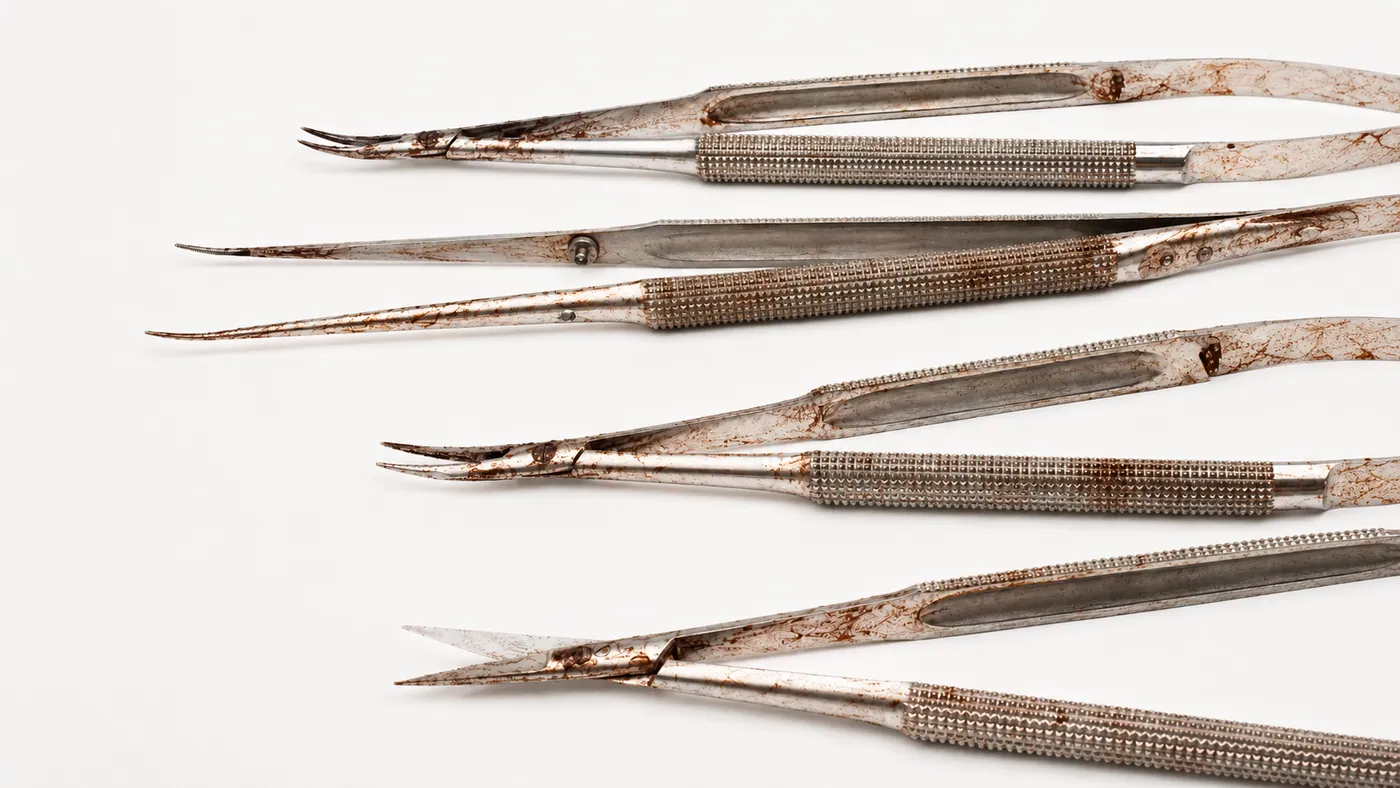
Microsurgical instruments for ophthalmic, neuro, hand and vascular surgery have tips a few tenths of a millimetre wide, cutting edges that must stay sharp under a microscope, and jaws that must meet exactly. The soil on them is small in quantity. The real risk in cleaning is mechanical: a tip that touches another instrument or the basket during cleaning comes out bent, and a bent micro forceps is scrap. Ultrasonic cleaning is well suited to these instruments because it cleans without brushing, provided the instruments are held so they cannot move.
Three settings, three sets of rules
| Setting | What happens | Equipment |
|---|---|---|
| Hospital and clinic reprocessing | Cleaning before disinfection and sterilisation, after each use | Equipment certified for reprocessing medical devices; the instrument maker's instructions under EN ISO 17664; washer-disinfectors to EN ISO 15883 |
| Instrument repair workshop | Cleaning after sharpening, realigning, re-tipping and polishing | Industrial equipment; the workshop's own procedure |
| Manufacturing | Production cleaning before the maker's final cleaning, packaging and sterilisation | Industrial equipment; a cleaning process validated under ISO 13485 |
Regulatory note. In the EU, products specifically intended for the cleaning, disinfection or sterilisation of medical devices are themselves medical devices under Regulation (EU) 2017/745, Article 2(1). Sonixtek machines are industrial cleaning equipment, not certified as medical devices, and are not used for hospital reprocessing. For that setting, this article explains the principles only.
A repair workshop receives instruments only after the hospital has reprocessed them, with a record saying so. The instruments leave the workshop clean but not sterile, and the hospital reprocesses them again before use.
Protecting the tips
- Dedicated racks. Each instrument lies in a microsurgical tray with silicone holders or pegs that keep it in place. Tips do not touch each other, the tray or the tank.
- Never with heavy instruments. Microsurgical sets are never cleaned in the same basket as general or orthopaedic sets.
- Lower the whole rack. Instruments are placed in the rack outside the bath and the rack is lowered in, never dropped in one by one.
- Tip protectors off. They trap soil and water. They go back on only after the instrument is clean and dry, as the maker's instructions say.
- Jaws open, mechanisms relaxed. Spring-handled forceps and needle holders sit in their open position.
- Short cycles at 40 kHz or higher. Smaller cavitation bubbles are gentler on fine edges and coatings; see 28 kHz or 40 kHz. Time is the shortest that achieves the result, not the longest the timer allows.
Soil and chemistry
In reprocessing, the soil is blood, tissue, and in ophthalmic surgery viscoelastic material, which dries into a hard, transparent film. Instruments are therefore flushed with water immediately after use, as the ophthalmic instrument makers specify. Detergent residue on ophthalmic instruments has been linked to postoperative inflammation of the eye, known as TASS, which is why ophthalmic guidance puts heavy weight on thorough rinsing in large volumes of purified water. The cleaning agent, temperature and time come from the instrument maker's instructions.
In the workshop and in manufacturing, the soil is polishing compound, grinding dust, lapping paste and fingerprints. A mild alkaline cleaner at 50 to 60 °C, 40 kHz, for 3 to 5 minutes removes them; polishing compound is easier to remove the sooner the instrument is cleaned after polishing. For the final cleaning of polished instruments, 80 kHz takes off fine particles with even less effect on edges.
Rinsing, drying and inspection
- Rinse in clean water, then a final rinse in purified water, so no minerals dry onto the tips.
- Dry with filtered compressed air at low pressure, directed along the instrument, not at the tip from the side, or with hot air at a moderate temperature. Water left in a box joint or a hollow handle causes corrosion.
- Inspect under magnification: tip alignment, jaw closure, cutting edges, coatings. In a workshop this inspection is also the quality check of the repair.
For the general rules of drying, see rinsing and drying.
Which machine, for workshops and manufacturing
| Work | Set-up |
|---|---|
| Repair workshop, a few trays a day | STS-060 (tank 300 × 155 × 150 mm) or STS-090 (300 × 240 × 150 mm) at 40 kHz with a microsurgical rack, a second benchtop or a sink for the rinse |
| Manufacturing, small batches | UMX Pro 50L at 40 kHz with a programme per instrument type, rinse tank, DT dryer |
| Manufacturing, final clean of polished instruments | MT-75: 75 L wash at 40 or 80 kHz, with rinse and dry in one frame |
The benchtop units are heated, and the ultrasound adds heat of its own during long sessions, so check the bath with a thermometer. See loading the basket for the principles of loading, the surgical instruments article for the reprocessing sequence, and the medical industry overview.