
Parts and contaminants · 8 min read · Updated 2026-11-16
Drying plastic parts after cleaning
Dry plastic parts within the grade supplier’s limits. Plan low-temperature trials, open basket covers and checks for water, distortion and marks.
Technical guide. Figures are taken from our own spec tables; for your process we confirm the settings with a cleaning trial.
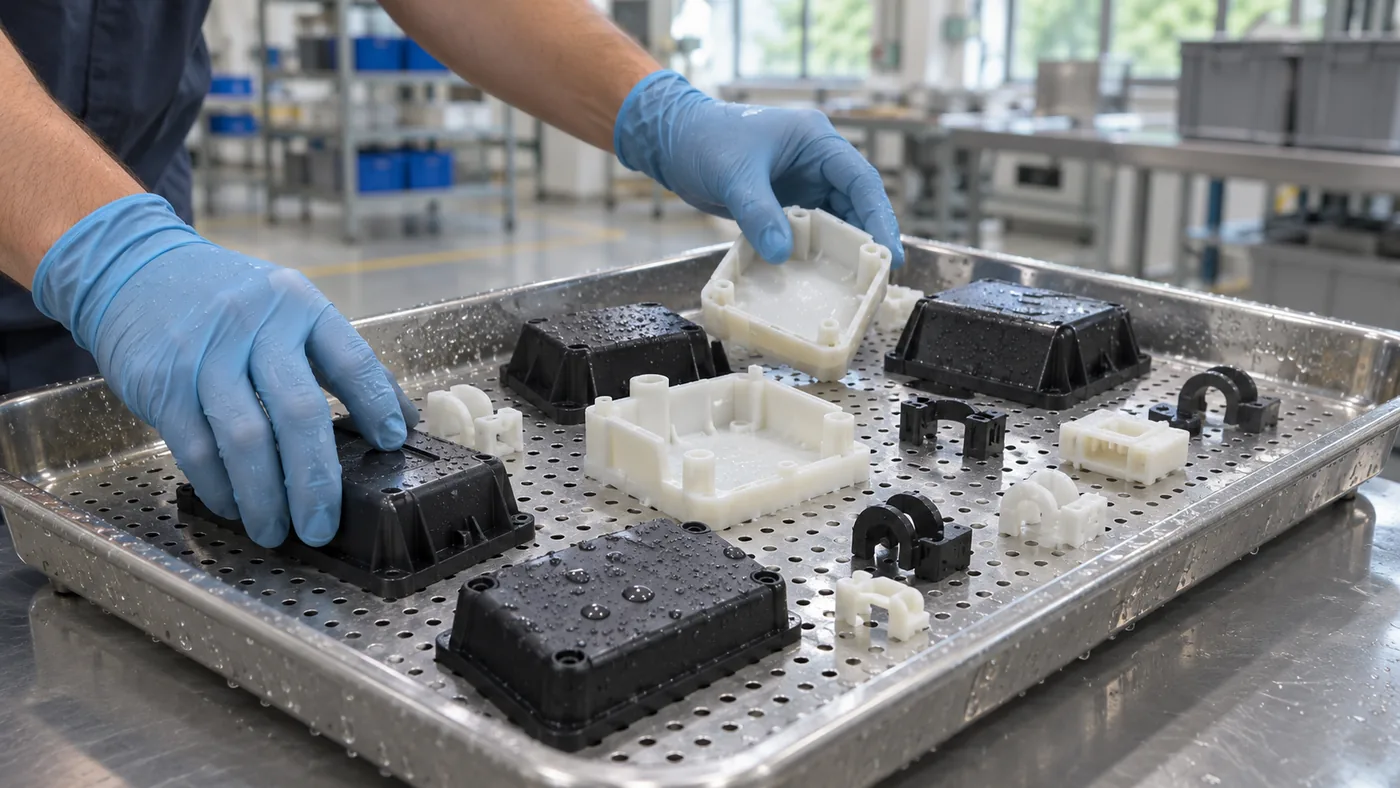
A light plastic component dries differently from a steel casting. It can move in the air stream, bend while warm or hold water behind a moulded rib.
The plastics industry guide introduces the cleaning applications. This article covers the step after rinsing: establish the actual grade's limits, support the shape and prove both dryness and dimensional condition. So how should plastic parts be dried after cleaning?
Dry plastic parts after cleaning with warm air at the lowest setting that removes the water, always below the limit the material data sheet gives for the complete part. A DT hot-air dryer covers 30 to 100 °C
What do you need to know about the plastic before drying it?
Before drying, you need the exact grade designation and the material maker's limit for wet cleaning and warm air, for the complete part. The polymer family name is not enough. Only with that documented limit can you decide whether any setting in the 30 to 100 °C
Fillers, reinforcement, plasticisers, colourants, ageing and moulded-in stresses change how a grade responds to heat. As general engineering, softening and distortion temperatures differ between grades of one family, so check the material data sheet of the actual grade, and ask whether its limit also applies under load or restraint. A material name on a drawing does not approve a cycle.
Find out whether the component includes metal inserts, seals, an adhesive joint or a surface treatment. A mixed part follows the limit of its most sensitive component. Confirm that water is allowed in the construction before choosing how to evaporate it.
Separate finished components from polymer granules. Drying resin before moulding concerns moisture inside the material and uses grade-specific conditions. A DT trial after aqueous cleaning concerns water carried by the finished part. One process specification does not replace the other.
Which air temperature should you start with for plastic parts?
Start plastic parts at the low end of the 30 to 100 °C
Both DT hot-air dryers, the DT-96 and the DT-206, cover this air range; the table compares their size and heating. The range is what the equipment delivers, not an approval for any plastic, and its low end is a starting region to discuss, not a universal plastic setting. The DT overview describes the series.
| Model | Volume (L) | Heating (kW) | Air temperature (°C) | Standard basket (mm) | Supply (V) |
|---|---|---|---|---|---|
| DT-96 | 96 |
3 | 30 to 100 |
580 × |
400 |
| DT-206 | 206 |
6 | 30 to 100 |
730 × |
400 |
Source: Sonixtek product data, Nov 2026.
Evaporation cools a wet surface. Once dry, a thin part moves closer to the air temperature, so assess the longest intended exposure and any repeat drying.
How do you keep the dryer close to the set value?
To keep the DT-206 close to the set value, switch its controller from the ON/OFF mode it ships in to PID and run one auto-tune. The DT-206 auto-tune runs at working temperature with a typical load in the basket and takes about 2 h including a check run. After that, the air stays close to the set value.
In ON/OFF mode the heating switches fully on and off around the set value, so the air swings above and below it. With a metal part this rarely matters. With a plastic whose documented limit lies close to the setting, it can.
Do not reset the controller to factory defaults. A reset restores the controller maker's defaults, not the machine's configuration. During the trial, also measure the air near the parts with your own thermometer rather than relying only on the display.
How should light plastic parts sit in the dryer basket?
Light plastic parts should sit in one shallow, separated layer per support level, held by an open support and, where they move in the air stream, by a secured open mesh cover. The 200 mm
Use a support that carries the part without forcing it out of shape; a warm thin wall may creep under its own weight or a stack. Support long spans and separate parts that can nest or rub. In the deeper DT-206 basket (260 mm
The cover should be open mesh or another permeable restraint, secured so it cannot come loose itself. A solid lid over the parts blocks the air and keeps humid air inside the basket. Basket cover and machine lid do different jobs.
Choose mesh and contact points so small pieces are not trapped and visible surfaces are not marked: a restraint pressing a warm part at one point can leave an impression below the material's published limit. Trial the real basket with cover and inserts.
Drain ribs, clips and hollow features first
Water sits beneath clips, between ribs and in upward-facing cavities. What drains by gravity need not be evaporated with heat and time. Tilt the part over a clean tray and watch the water's path; the washing orientation is not always the draining one.
The basket-loading guide explains shallow loading and separation. Apply it so both the water outlet and the air access stay open. If one part drips into another, changing the stack often helps more than a longer dryer cycle.
Enclosed spaces that cannot be inspected or drained need a cleaning route agreed with the component owner, not long heating. The article on drying by material explains why the complete assembly sets the limit.
Keep mould components in their own process group
A mould insert can be metal even when it comes from a plastics workshop. Its process follows the actual material, finish and fitted seals, not the workshop's industry label. A tool component with polymer inserts or fitted seals may still have a lower limit than a bare metal insert.
Use separate loading instructions where these families differ, and mark the parts before the wash so their identity survives rinse and dry.
The rinse and drying guide also matters for appearance. Hot air removes water but leaves minerals and detergent behind. A water mark on a moulded surface can be a rinse problem, not a sign that the plastic needs more heat. Where the wash bath carries floating oil, a film can also come out with the parts; the laminar flow guide explains how a surface flow carries it to an overflow.
Check the plastic after cooling
| Observation | What to investigate | Trial response |
|---|---|---|
| Water behind a rib | Drain path and air access | Change orientation or support |
| Bowing after unloading | Temperature, span and restraint | Review limit and support under the actual load |
| Contact marks | Local pressure while warm | Change contact area and stacking |
| Scattered light parts | Basket restraint | Fit a suitable open cover |
| Dry haze or rings | Final rinse and carry-over | Review rinsing before increasing heat |
Inspect a representative load once it has reached the condition set for checking dimensions and fit. Look for warp, stress whitening, changed surfaces and marks at retaining points as well as water.
Record grade, part revision, allowed temperature, rinse condition, loading, cover, air setting, duration and acceptance method, and keep a reference sample where useful. Repeat the trial after a change of grade, colour, wall section or rack.
A plastics shop rarely needs a new washer to fix its drying step. Of five companies that bought a DT dryer, three added the dryer alone after a washer they already had. Where washed parts must stay free of settling dust, a DT-206 has been supplied with a HEPA-grade intake filter module.
Frequently asked questions
Can plastic parts and metal mould inserts share one drying cycle?
Usually not. A metal insert may tolerate more heat, while the plastic part follows the limit of its grade. Mixing them to fill a basket forces a compromise, so keep separate loading instructions and mark the parts before washing.
Does a DT dryer also dry plastic granules before moulding?
No. A DT dryer removes water carried by the finished part after aqueous cleaning. Drying resin before moulding concerns moisture inside the material and follows grade-specific conditions, so one process specification does not replace the other.
Should the basket cover be a solid lid?
No. A solid lid over the parts blocks the air and keeps humid air inside the basket. Use open mesh or another permeable restraint, secured so it cannot come loose, and trial it with the real basket.
Why do rings or haze remain after drying?
Hot air removes water but leaves minerals and detergent behind. Dry haze or rings on a moulded surface usually point to the final rinse and carry-over, so review rinsing before increasing the air temperature.
What to send us for a quote
- The grade designation and the material maker's limit for the complete part.
- The part size, the smallest part that must be retained in the basket and any inserts, seals or bonded joints.
- The output you need and the washer the dryer will follow.
Send this through the quote form. Our technical team assesses the DT series as a drying station once the thermal limit and the basket arrangement are clear.