
Parts and contaminants · 4 min read · Updated 2026-09-26
Ultrasonic cleaning of carburettors: the complete process
Varnish, gum and carbon out of jets, emulsion tubes and drillings without hours of wire and spray can. Strip-down, liquid, temperature, frequency and time for aluminium and zinc bodies, and what must never go in the bath.
Technical guide. Figures are taken from our own spec tables; for your process we confirm the settings with a cleaning trial.
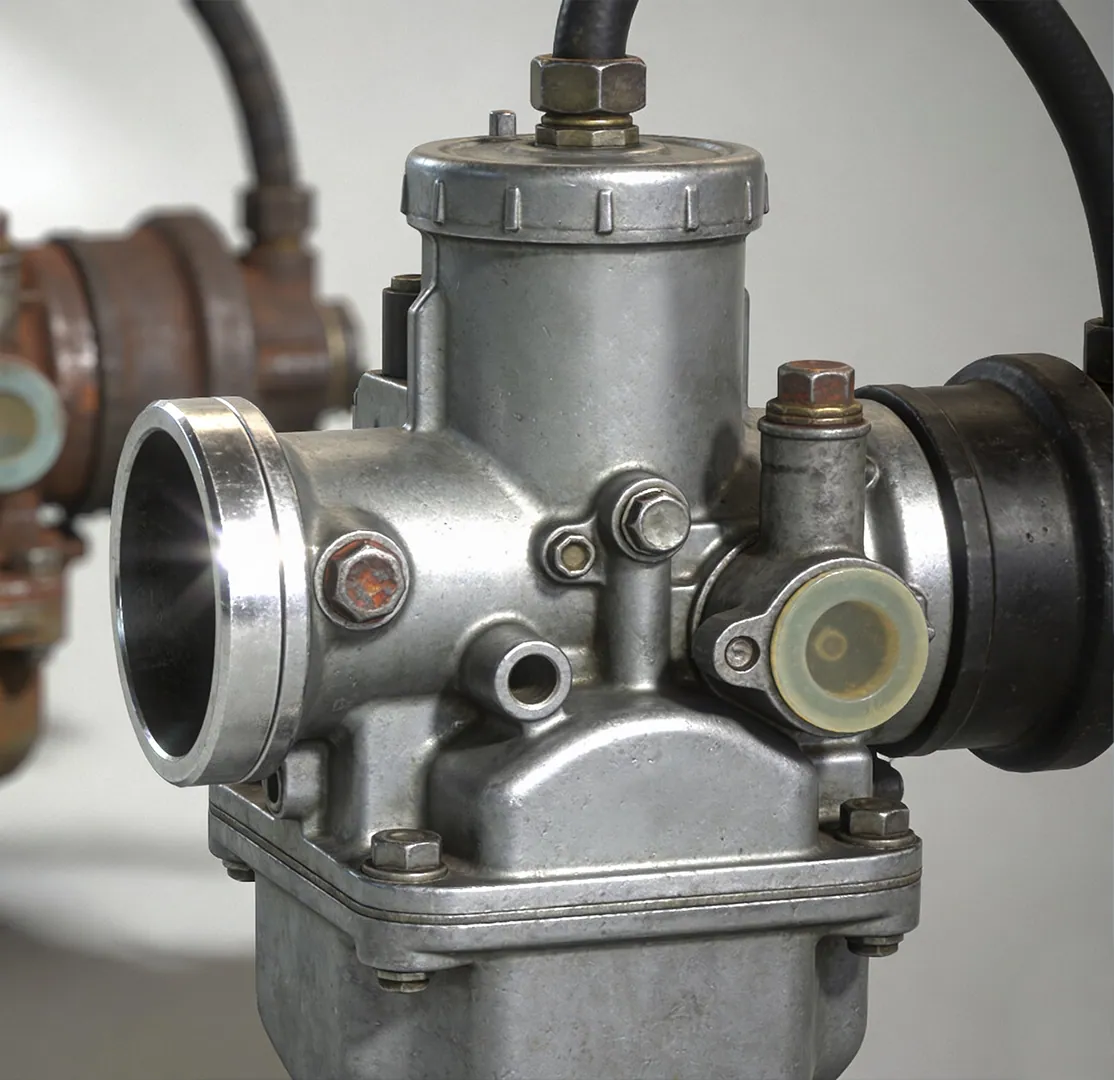
A carburettor fails slowly. Petrol left in the float bowl evaporates and leaves a film of varnish; the next fill dissolves some of it and carries it into the jets; after a season in a shed the idle jet, a drilling of 0.35 to 0.6 mm, is closed. The engine starts badly, idles rough and runs lean off idle. Wire and aerosol cleaner reach the jets you can see. They do not reach the progression holes, the emulsion-tube cross-drillings or the passages cast into the body, and that is where an ultrasonic bath earns its place in a workshop.
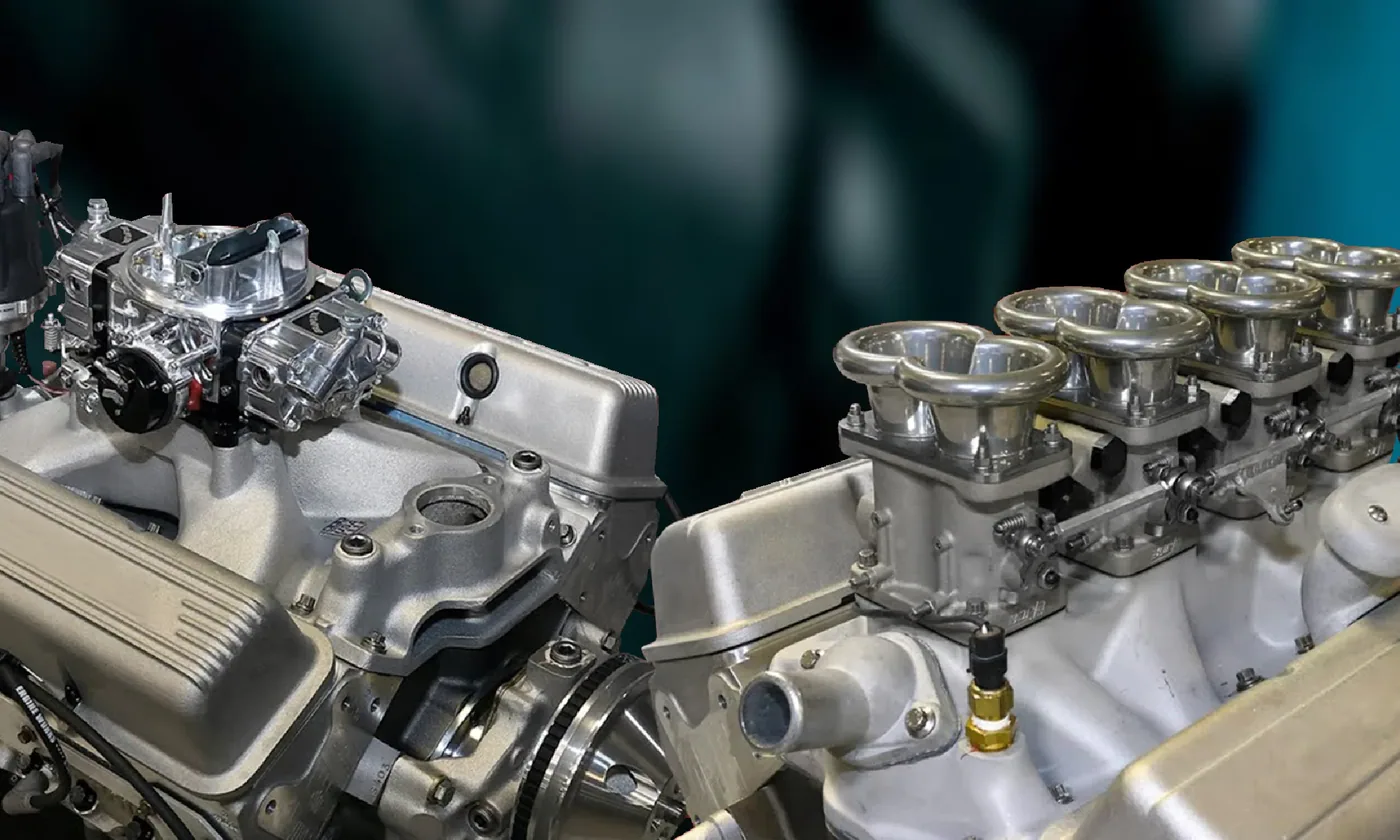
What is on the part
- Varnish and gum: oxidised petrol, amber to brown, hard, in the bowl and every drilling it flowed through. Ethanol blends make it worse and leave a white, powdery corrosion product on zinc and aluminium.
- Carbon and soot on the throttle plate and the bore below it, from reversion and blow-by.
- Oil and road dirt on the outside, and on two-stroke engines oil through everything.
- Corrosion: white zinc oxide on zinc (Zamak) bodies, grey oxide on aluminium, green on brass. Ultrasound loosens it; it does not reverse it.
Strip it first
Ultrasound cleans what the liquid touches, and it damages what the liquid should not touch. Before a carburettor goes in:
- Remove everything rubber, plastic or cork: float needle (it usually has a Viton tip), O-rings, gaskets, accelerator-pump diaphragm or piston, vacuum diaphragms, choke and power-valve diaphragms. They swell in the cleaner and they are replaced anyway.
- Remove the floats. Brass floats may take a cycle but a pinhole will fill them; foam and plastic floats absorb liquid. Clean them by hand.
- Remove the jets, emulsion tubes and air correctors and put them in a fine-mesh insert or a beaker; loose in the basket they are lost or damaged.
- Take out electrical parts: fuel-cut solenoids, choke heaters, throttle position sensors.
- Leave the throttle shaft in unless it is being replaced; removing it risks the plate screws, which are often staked.
The bath
Liquid. A mild alkaline cleaner for light alloys, pH 9 to 11, with corrosion inhibitors, at 3 to 5 %. Carburettor bodies are aluminium or zinc, and a strong caustic degreaser turns both grey and etches the machined faces in minutes. The cleaner supplier's data sheet should list aluminium and zinc as compatible. Plain water with washing-up liquid removes oil but hardly touches varnish.
Temperature. 50 to 60 °C. Varnish softens with heat; above 65 °C a light-alloy cleaner starts to attack zinc. See choosing the temperature.
Frequency. 40 kHz. The drillings are fine, the castings soft, and 28 kHz leaves a matt, eroded finish on zinc after long cycles. Our STS benchtop cleaners run at 40 kHz; the ST and UMX Pro series are specified at 28 or 40 kHz.
Time. 10 to 15 minutes for a carburettor in normal service condition, 20 to 30 for one that has stood with fuel in it for years. Check after the first cycle: if the varnish in the bowl has softened but not gone, blow the passages through with compressed air and give it a second cycle rather than one very long one.
Degas first. A fresh bath full of air cleans at half strength. Run the degas cycle, or ten minutes of ultrasound, before the first carburettor of the day; the sweep and degas article explains why.
After the bath
- Rinse in clean warm water to take the cleaner film out of the drillings. Cleaner left in a passage dries to a crust that blocks it again.
- Blow through every drilling with compressed air, from both ends, at no more than 3 bar on jets. A cleaned passage that does not blow clear is still blocked; give it another cycle, not a wire.
- Dry at once. Warm air, then assembly. Zinc and aluminium castings that sit wet overnight grow a white oxide bloom.
- Rebuild with new soft parts and set the float height.
Which machine
| Workshop | Load | Machine |
|---|---|---|
| Occasional carburettors, motorcycle singles and twins | 1 to 2 carburettors per cycle | STS-150 (15 L, 330 × 300 × 150 mm) or STS-300 (30 L, 500 × 300 × 200 mm) |
| Car carburettors, multi-barrel, triple sets | a set per cycle | ST-40 (40 L, 400 × 300 × 330 mm) or UMX Pro 50L with stored programmes |
| Motorcycle and classic specialists, daily | several sets per hour | ST-65 or ST-96 with a filtration loop, or an SF-225, so the bath lasts |
A carburettor carries surprisingly little soil, so bath life is set by the varnish and the fuel it brings in. An unfiltered benchtop bath does ten to twenty carburettors before it is due for a change; an SF with its skimmer and filter, far more.
What ultrasound will not fix
Worn throttle shafts and bushes, bent float arms, warped float-bowl faces, and jets that someone has already reamed oversize with a drill bit. It restores flow through passages that were blocked; it does not restore metal. For the general process, see removing carbon deposits and cleaning liquids.