
Operation and maintenance · 9 min read · Updated 2026-11-16
Commissioning a new ultrasonic tank: first fill to foil test
The first start-up of a new ultrasonic tank, in order: placing and connecting, first fill, timed heat-up, degassing, foil test and the day-one record.
Technical guide. Figures are taken from our own spec tables; for your process we confirm the settings with a cleaning trial.
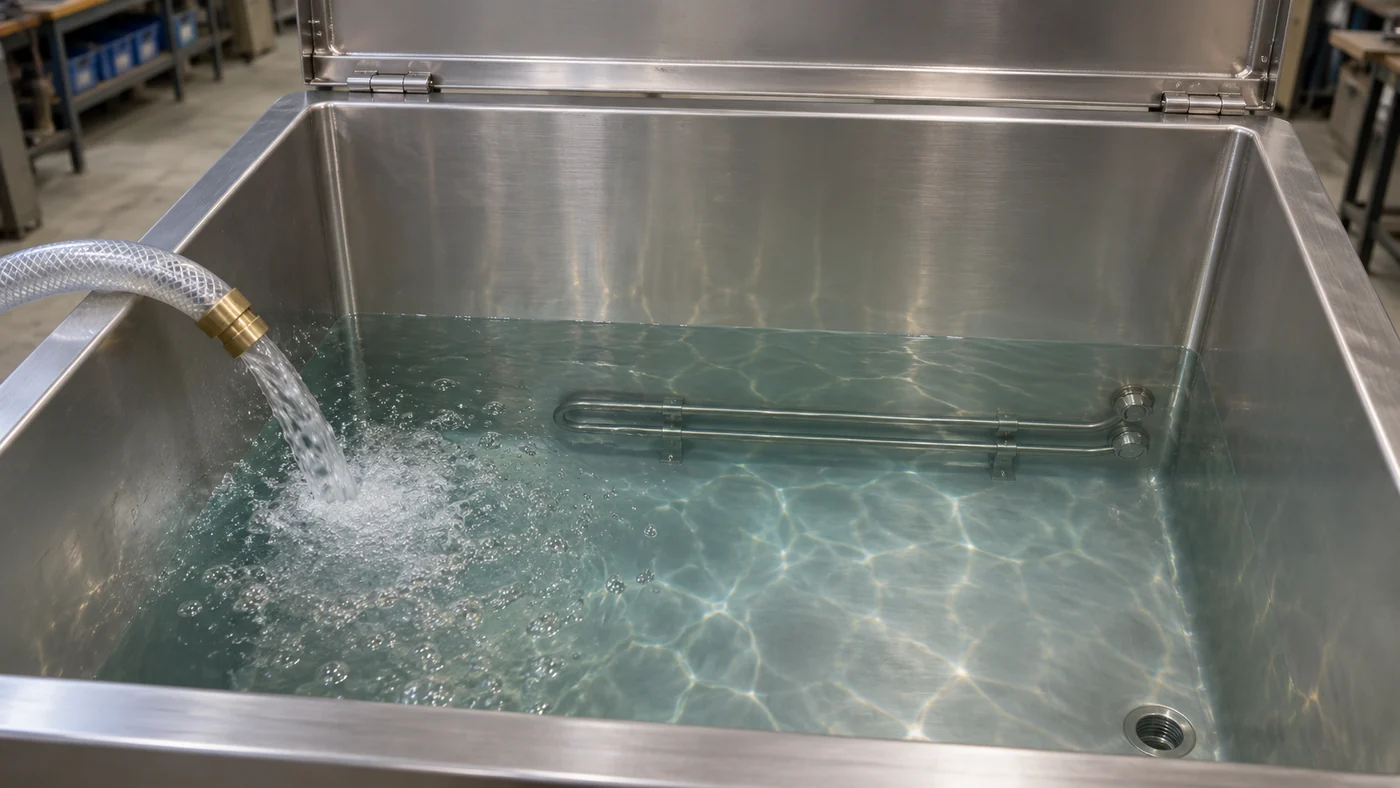
The first day of a new ultrasonic tank decides whether the machine starts without damage, and what every later check is compared against. This is the sequence we recommend for ST industrial tanks, UMX Pro compact cleaners and SF filtration units. Where the manual of your machine differs, the manual applies.
How do you commission a new ultrasonic tank? Set the tank level, have it connected and close the drain valve. Fill it to about 50 mm
What has to be done before the first fill?
Before the first fill, a new ultrasonic tank is unpacked, emptied, set level and connected by a qualified electrician to the supply on its rating plate. The ST-96 heated ultrasonic tank (96 L
The US version of the ST-96 is quoted for 208–240 V three-phase, 60 Hz; its current is on its own nameplate.
- Unpack and inspect. Tank, drain valve, generator housing, cables, basket and lid. Photograph any transport damage and report it before the first fill. Remove packaging, protective film and loose material.
- Set it level. On an ST, lock the castors and set the levelling feet. Leave room to lift the basket out and to put a container under the drain valve.
- Keep the generator dry. On the ST the generator sits in its own housing. Place it away from heat and splashes, with its ventilation free, and route the cables off the floor.
- Connect safely. Give the machine its own residual-current protection and do not use extension leads.
Is a rinse fill needed on a new tank?
A rinse fill is worth it on a smaller ultrasonic tank: fill with clean water to the working level, run the ultrasound for a few minutes, drain and watch the fittings for 30 minutes. On a large tank such as the SF-225 ultrasonic cleaner with filtration (225 L
The rinse flushes out dust from assembly and transport, and it shows leaks while the liquid is still harmless water.
How full should the tank be on the working fill?
Fill a new ultrasonic tank to the working mark with the basket in place, about 50 mm
- Why never empty: without liquid, the energy goes into the tank floor instead of the bath.
- Wear gloves and eye protection when you handle the concentrate.
- Note the litres. The volume at the working mark is the figure you dose and top up against for the life of the machine.
- Filtration (SF, or UMX Pro with the filtration module). Start the pump only when the tank is full and the filter is in place, and let the air out of the filter housing as the manual describes. A pump must not run dry. Set the laminar flow as well: it pushes floating oil across the surface to the skimmer, so a basket coming out does not pass through an oil film. Laminar flow in an ultrasonic tank explains how it works.
How long does a new ultrasonic tank take to heat up?
A new ultrasonic tank with about 40 W of heating per litre heats from 20 to 60 °C
Evaporation is the main heat loss from an open tank, so keep the lid on. Set the thermostat to the working temperature from the cleaner's data sheet; for most aqueous degreasing that is between 50 and 65 °C
Write down the measured time with the room temperature: the monthly heater check compares against it, and a heater that gets slower is scaling up or has an element down. Then check the bath with a probe thermometer at the basket position. In a large tank without circulation, the liquid at the part can lag the set point by 5 to 10 °C
Why does a freshly filled bath need degassing?
A freshly filled ultrasonic bath needs 5 to 10 minutes of degassing, because dissolved air cushions the collapse of the cavitation bubbles and the bath cleans noticeably worse until the air is gone. Degas after every fill or top-up, warm and without parts: a warm bath degasses faster than a cold one, so heating comes first.
- If your generator has a degas function, use it for this step.
- On a generator without a degas function, run the ultrasound on the warm bath, without parts, for the same time.
You hear when it is done: the fizzing at the surface stops and the sound of the tank changes to a sharper crackle. Leave sweep on if your generator has it: it keeps standing waves from forming stripes of strong and weak cleaning. Sweep and degas explained covers both functions.
How do you run the foil test on a new tank?
The foil test on a new ultrasonic tank uses household aluminium foil about 15 to 20 µm thick, held vertically across the tank from 20 mm
Run the test on the warm, degassed bath with the basket out, and with sweep on if your generator has it. Date the foils and file them with the delivery note: they are the tank's fingerprint. Patches with no holes, or holes only in bands, mean: degas again and repeat. If the pattern stays, send us photos of the foils. The foil test article explains how to read the result.
The first parts
- Choose a reference part with typical soil and photograph it before cleaning.
- Load it properly. One or two layers, no part shielding another, blind holes facing up or sideways so air can escape. Stay within the basket rating; on the ST-96 that is 100 kg
(220 lb) . - Start with the cleaner supplier's recommended time, check the result and extend in steps. The right time depends on soil, cleaner and part; it is found on your parts, not on a chart.
- Rinse and dry straight after the wash. The sequence is clean, rinse, dry: rinse the cleaner off in clean water, then dry the parts before water spots or flash rust form. Our DT series hot-air dryers take the same basket as the wash tank: the DT-96 takes the ST-96 basket without repacking; see preventing water spots and flash rust.
- Write the settings on a card at the machine once the result is right: temperature, concentration, time, power setting, basket load, rinse and drying.
Commissioning figures at a glance
| Step | Figure | Unit |
|---|---|---|
| Liquid level below the rim, basket in | about 50 | mm |
| Working temperature, most aqueous degreasing | 50 to 65 |
°C |
| Heating rule of thumb, 20 to 60 °C |
about 40 | W per litre |
| ST-96 heating for 96 L |
4000 | W |
| ST-96 heat-up 20 to 60 °C |
about 67 | min |
| Bath at the part below set point, large tank without circulation | 5 to 10 |
°C |
| Degassing after every fill or top-up | 5 to 10 | min |
| Foil thickness | 15 to 20 | µm |
| Foil height above the floor | 20 |
mm |
| Foil test run time | 60 | s |
| ST-96 basket load | 100 |
kg |
Source: Sonixtek product data and guides, Nov 2026.
The day-one record
| Record | Why you need it later |
|---|---|
| Litres at the working mark | Dosing and top-ups |
| Cleaner concentration, by the supplier's titration kit | Reference for the weekly check |
| Time to temperature and room temperature | Monthly heater check |
| Bath temperature at the basket against the set point | Where the thermostat really sits |
| Foils from three positions, dated | Monthly foil test and any service call |
| Settings for the reference part, with before and after photos | What "clean" means for this part |
Brief the operators before the first shift
Never put a hand in a running bath. Lower baskets slowly and move anything heavier than about 20 kg
Frequently asked questions
Can I test a new tank by running the ultrasound empty?
No. Never switch on ultrasound or heat with the tank empty or below the minimum level. Without liquid, the energy goes into the tank floor instead of the bath. Test on the working fill, after heat-up and 5 to 10 minutes of degassing.
What if the first foil test shows patches without holes?
Degas the bath again and repeat the test before anything else; a gassy bath fails any foil test. If the pattern stays, send us photos of the dated foils, the time to temperature and the model with its serial number.
How often are the day-one figures checked again?
The cleaner concentration is checked weekly with the supplier's titration kit. The heat-up time and the foil test are repeated monthly and compared with the day-one record. A heater that gets slower than on day one is scaling up or has an element down.
Planning a new tank? What to send us
- The largest part, with dimensions and weight, and the weight of a full basket.
- What is on the parts, and how they are cleaned today.
- Parts or baskets per day.
- The electrical supply and the floor space at the site.
- Whether the bath needs filtration, rinsing or drying after the wash.
Send it through the quote form. Machines: the heated tanks of the ST series, the compact cleaners of the UMX Pro series and the SF series with filtration. More on cleaning in production is on our manufacturing page.